How to Access, Build, and Explore MS-DOS 1.0's Historic Source Code
Introduction
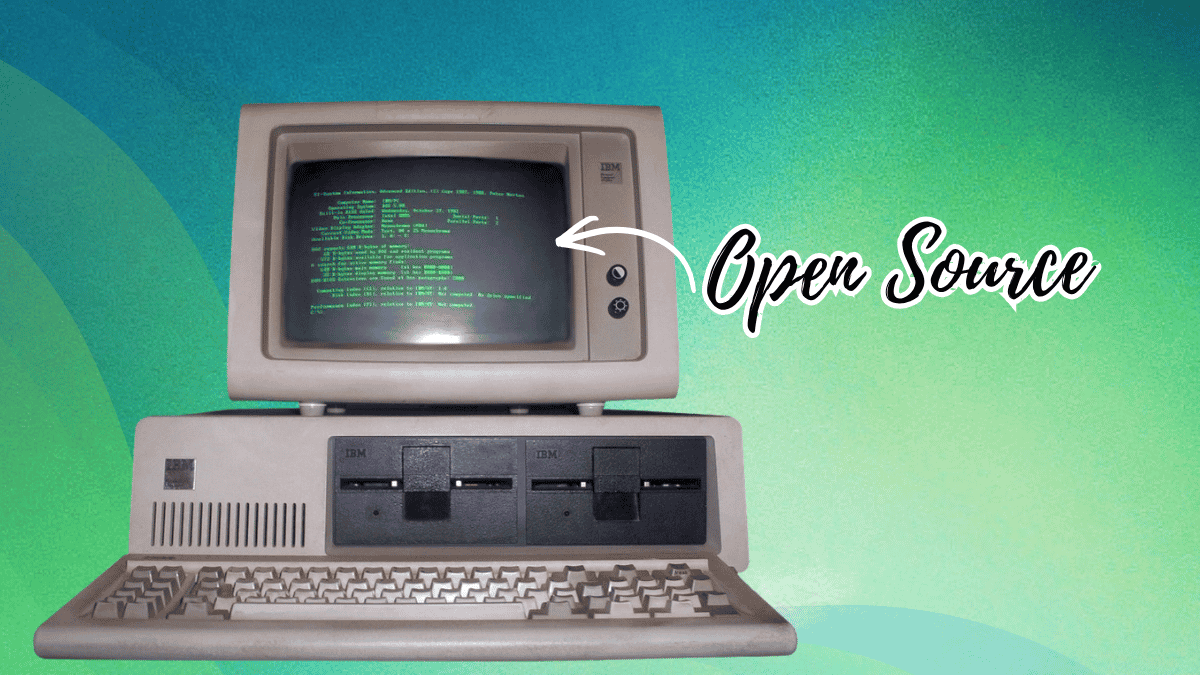
In April 2025, Microsoft marked 45 years of DOS by releasing the earliest known source code for 86-DOS 1.00—the direct ancestor of MS-DOS and PC DOS—on GitHub under the permissive MIT license. This isn’t just a nostalgic gesture; it’s a goldmine for retro computing enthusiasts, low-level programmers, and historians. The code, originally written by Tim Paterson in 1980 as the “Quick and Dirty Operating System,” comprises the kernel, utilities like CHKDSK, and the assembler itself. But the source wasn’t handed over in a tidy digital archive—it came from physical assembler printouts and continuous-feed paper that had to be scanned and transcribed by historians Yufeng Gao and Rich Cini. This guide will take you through the steps to obtain this code, set up the required tools, and compile it yourself, giving you a hands-on look at the operating system that launched Microsoft’s dominance.
What You Need
- GitHub account (optional but helpful for cloning the repository)
- A computer with a modern operating system (Windows, Linux, or macOS)
- Text editor (e.g., VS Code, Notepad++) for viewing assembly source
- Assembler: The original Seattle Computer Products (SCP) ASM assembler, which is included in any 86-DOS or early MS-DOS release. You’ll need to extract
ASM.COMfrom a disk image. - Emulator or real hardware: An x86 emulator like DOSBox, PCem, or a vintage PC running DOS
- Disk image tools: Such as
dd(Linux/macOS) or WinImage (Windows) to create bootable floppy images
Step-by-Step Guide
- Step 1: Obtain the Source Code from GitHub
Microsoft’s official repository is located at
https://github.com/microsoft/MS-DOS. You can either clone it using Git (git clone https://github.com/microsoft/MS-DOS.git) or download the ZIP archive. The repository contains early versions, including the 86-DOS 1.00 kernel, PC-DOS 1.00 development snapshots, and utility sources. The README file provides a starting point for building. - Step 2: Locate and Extract the ASM Assembler
To compile the source, you need the SCP ASM assembler (
ASM.COM). This was included in 86-DOS and early MS-DOS releases. Search for disk images of, for example, MS-DOS 1.25 or PC-DOS 1.0 online. Use a disk image tool to mount the image and copyASM.COMto a working folder on your modern system. Alternatively, if you have a vintage DOS disk, you can copy it directly. - Step 3: Set Up Your Emulation Environment
Since you probably don’t have an 8086 machine handy, use an emulator. DOSBox is the easiest option. Install DOSBox, then create a working directory that you’ll mount as the C: drive. Copy the 86-DOS source files,
ASM.COM, and any required utilities (likeLINK.EXE) into that directory. Configure DOSBox to boot into this environment. - Step 4: Compile the 86-DOS Kernel
Inside the emulator, navigate to the folder with the source. Run
ASMfollowed by the kernel source file (typicallyDOS.ASM). The exact command may vary; check the README from the GitHub repository. For 86-DOS 1.00, the source is in assembly language. The assembler will produce an object file (.OBJ), which then needs to be linked usingLINK.EXEto create a binary—likely namedDOS.COMorIBMBIO.COM. Follow any batch files or build scripts that might be included.
Source: itsfoss.com - Step 5: Build the Utilities
Besides the kernel, the repository includes sources for utilities like
CHKDSK. Compile each using the same ASM assembler. Some utilities may require specific library files. The GitHub README outlines which object files are needed for linkage. If a utility fails, ensure you have the correct version of the assembler and linker. - Step 6: Create a Bootable Disk Image and Test
Once you have the compiled kernel (
DOS.COM) and utilities, you need to create a bootable floppy disk image. Use tools likemkisofs, WinImage, orddwith a master boot record. The boot process expects specific files (e.g.,IBMBIO.COMandIBMDOS.COMfor PC DOS). Refer to the naming conventions from the GitHub repository. After creating the image, mount it in your emulator and start the virtual machine. If successful, you’ll see the famousC:\>prompt. - Step 7: Troubleshoot and Explore
Early DOS compilations are finicky. If the emulated system hangs or displays errors, check that you used the correct assembler version and that files are in the proper order. Read the comments in the assembly source—they contain historical notes from Tim Paterson. You can also compare your build with the officially released binaries on the Internet Archive.
Tips for Success
- Understand the limitations: This is 16-bit real-mode code. It won’t run on a modern PC without an emulator. DOSBox is your friend.
- Learn from the code: Paterson’s source is a masterclass in efficient assembly. Study how he implemented file systems and memory management with so few resources.
- Join the community: Forums like VOGONS or the Retrocomputing Stack Exchange have threads on building early DOS. Ask for help if you get stuck.
- Use version control: If you modify the source, commit your changes locally. The MIT license allows you to tinker freely.
- Keep backup: The disk images you create may be fragile. Save copies of your working builds.
By following these steps, you’ll not only run DOS from 1981, but you’ll also gain a deeper appreciation for the software that started a revolution. Happy hacking!